Part 5: Display Real Data on the UI
I.Complete the Widget representing one question in the list
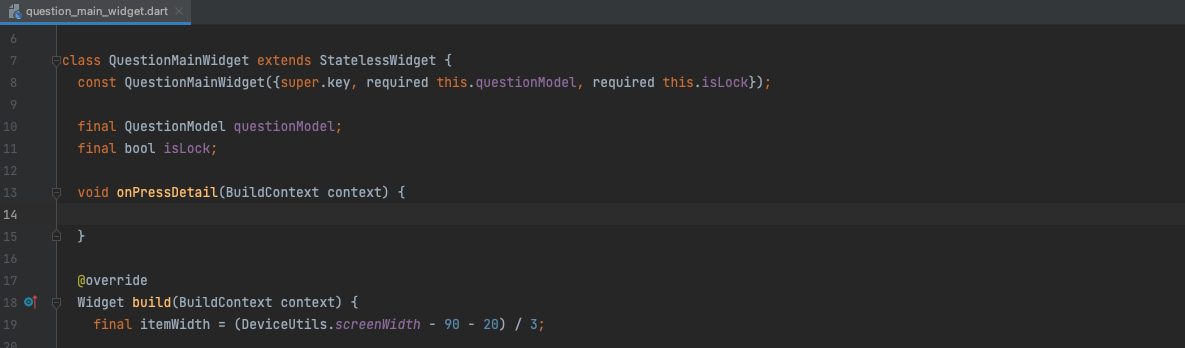
In the previous section, we had a Widget for each question, which is QuestionMainWidget. Now, let's proceed to fill in the complete data for it.
To summarize the analysis from the previous tutorial, we have:


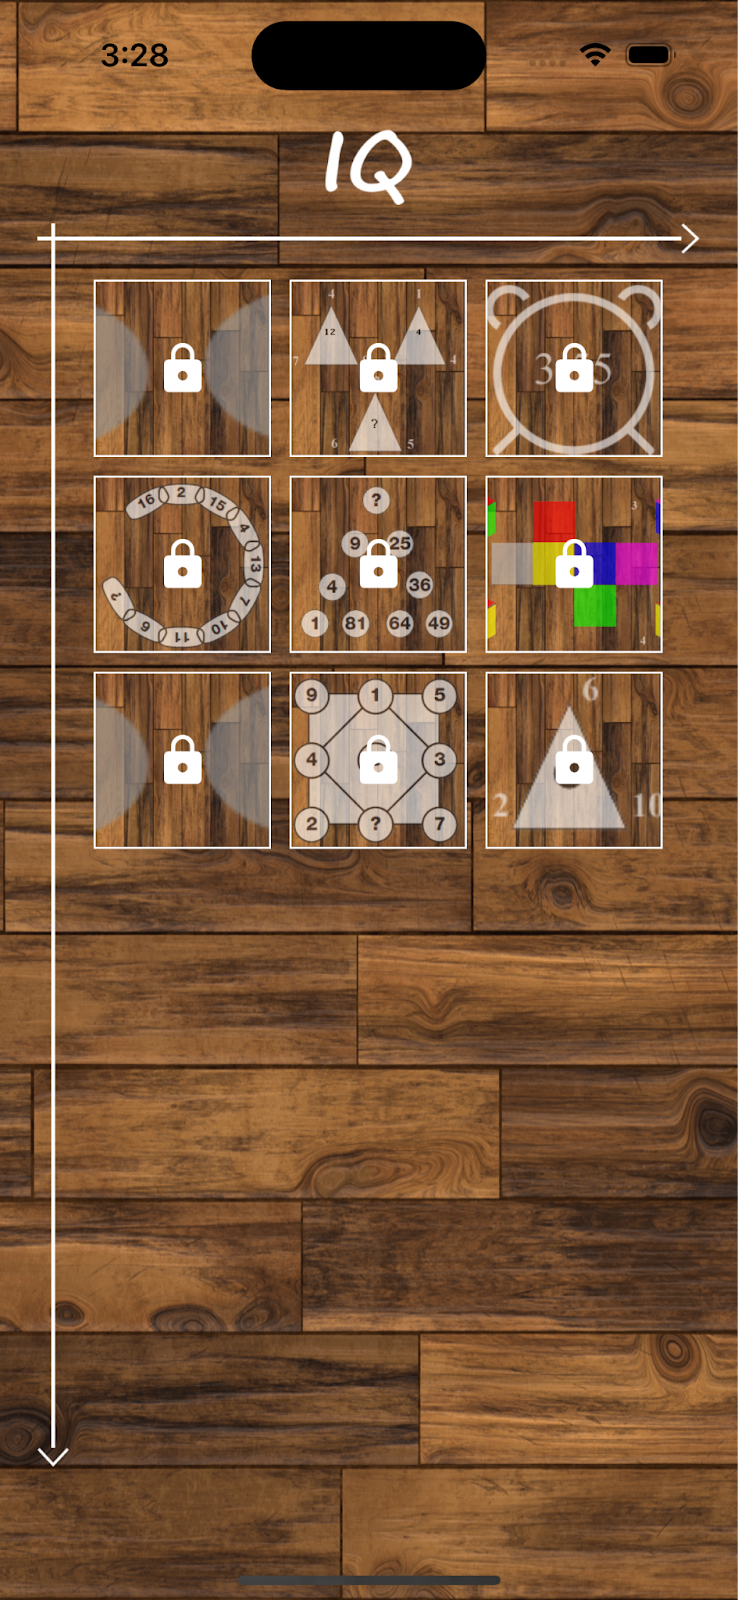
QuestionMainWidget will contain:
- Background image
- Thumbnail image displaying the question
- Question number with the case of a correct answer
- Lock icon for unanswered questions
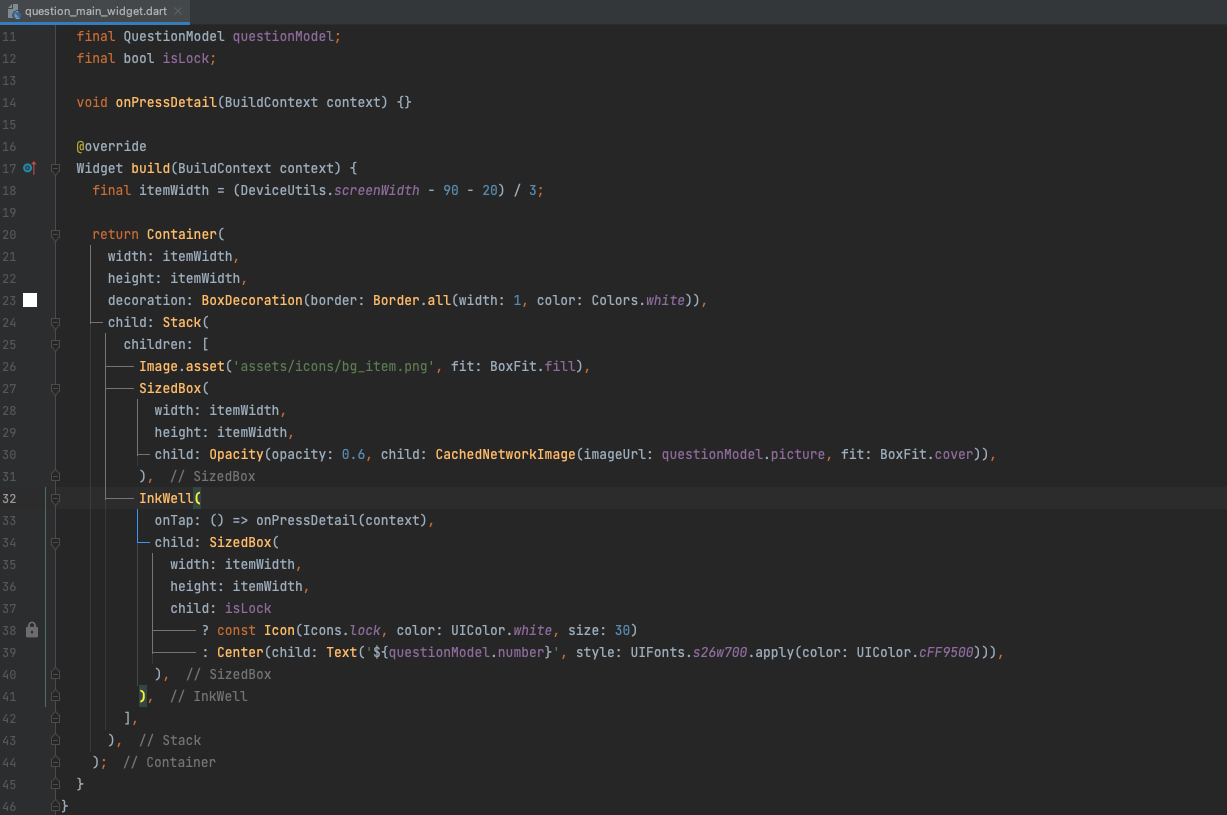
The background image and the number "1" have been temporarily drawn; now, we need to display the thumbnail for the question and the corresponding question number/lock icon. To display the complete QuestionMainWidget, it needs to receive the input data as QuestionModel and the locked/unlocked status.
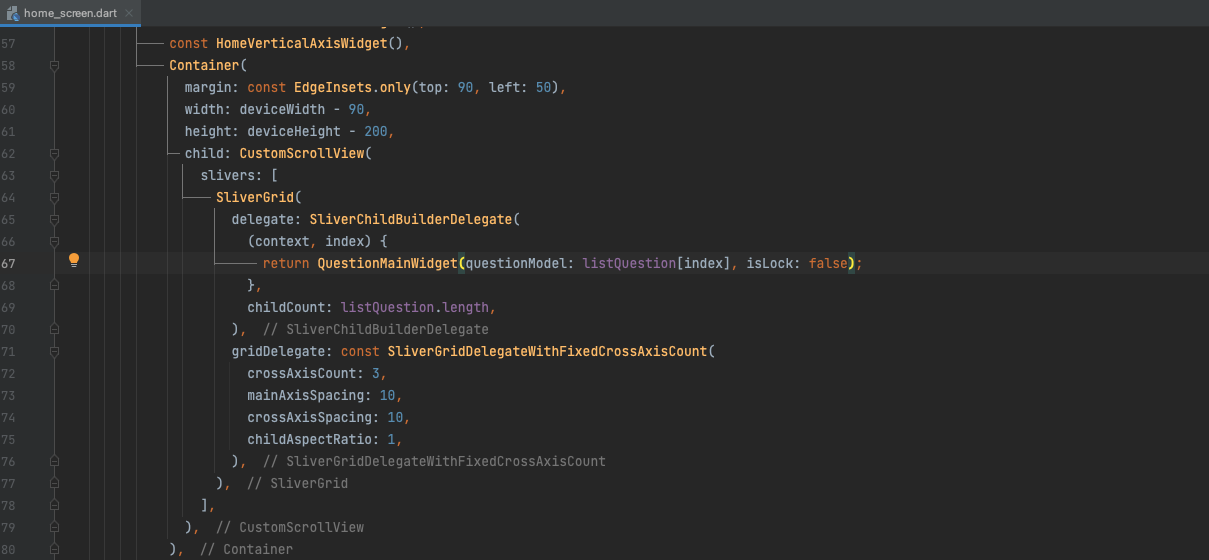
Adjust the Widget displaying the list of questions on the HomeScreen and pass in the corresponding data. We will temporarily fake the isLock field as false/true to test QuestionMainWidget. Also, set the childCount to the correct value listQuestion.length to display the correct and sufficient number of questions.
To display the thumbnail for the question, we will load the image from the picture field in QuestionModel using cached_network_image (https://pub.dev/packages/cached_network_image).
Corresponding to the isLock data passed in as false/true, we have the result:

That completes the basic structure of the HomeScreen.
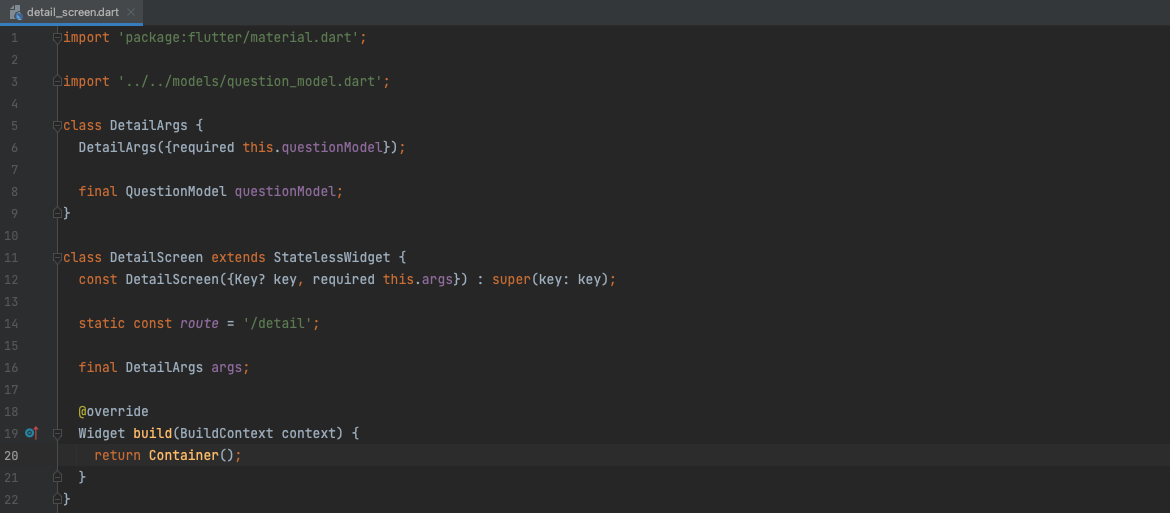
II.Navigation and Passing Data to the Detail Screen
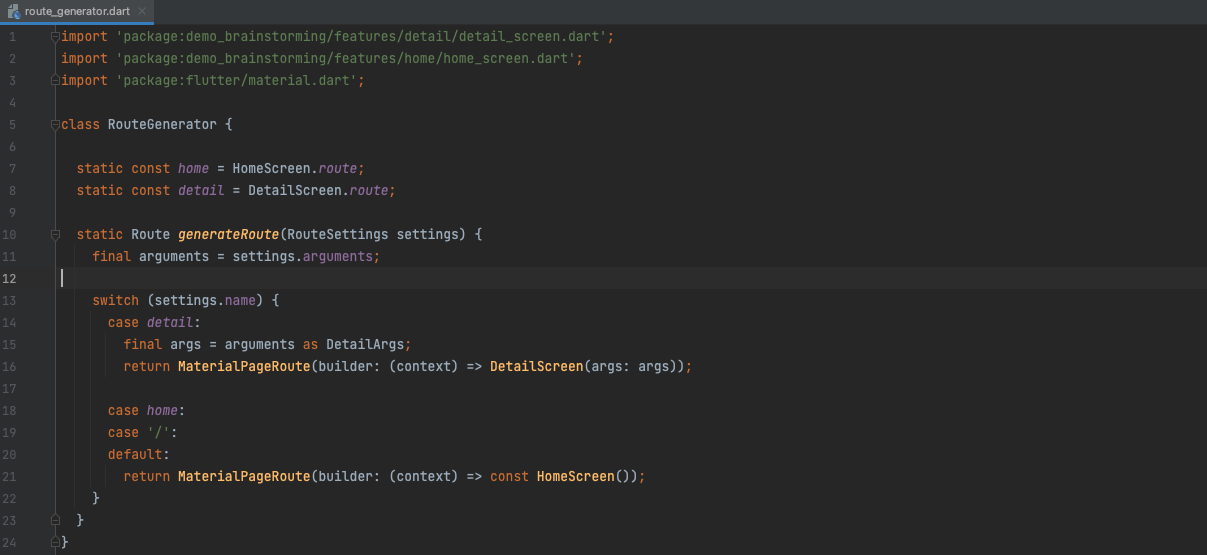
After clicking on a question, we will navigate to the detail screen.The DetailScreen has been defined in the RouteGenerator, now we will navigate to it using Navigator and pass the corresponding selected question data.
In DetailScreen, we add DetailArgs containing QuestionModel,
The RouteGenerator also adds arguments for DetailScreen:
And in QuestionMainWidget, handle the onPressDetail() function to navigate and pass data to the new screen:
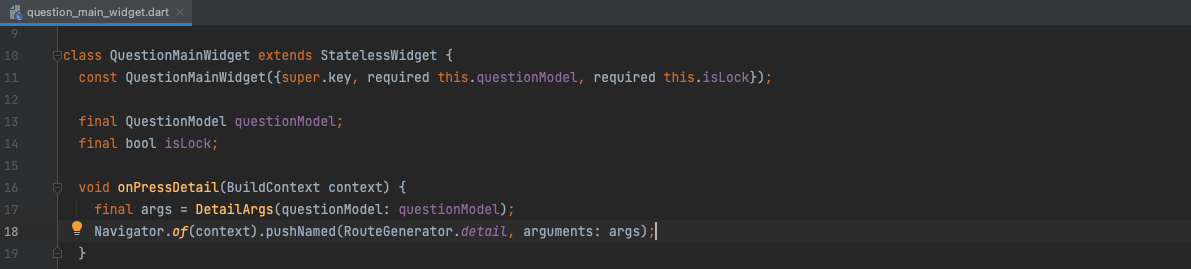
So that completes the process of navigation and data passing with Navigator.
III.Analyze the UI of the Detail Screen
Looking at the UI, we can break it down into general Widgets as follows:
- Background image at the bottom
- HeaderWidget containing the Back icon and the title displaying the question:
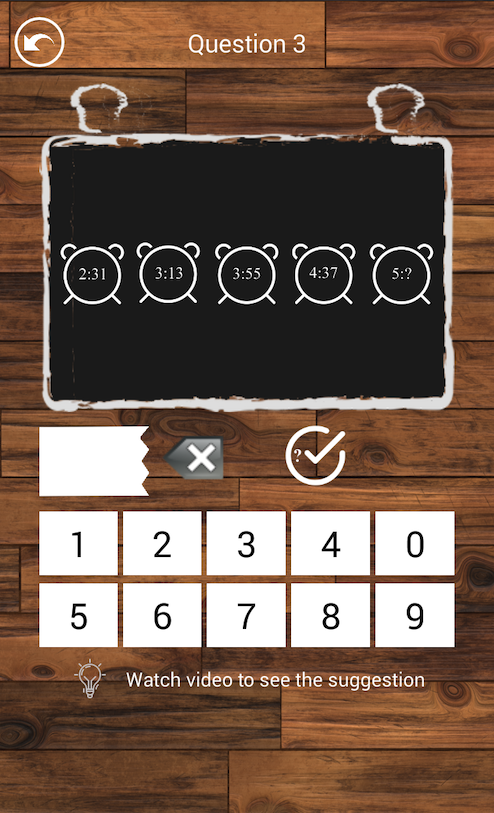
- Widget displaying the blackboard
- Widget displaying the question on the blackboard
- Widget displaying the answer, clear button, and check answer button
- Widget displaying the list of buttons
From here, you can implement the corresponding UI in Flutter based on the UI knowledge you have
IV.Summary
In this tutorial, we have completed the UI on the HomeScreen with real data fetched from the API. We learned how to navigate between screens and pass necessary data.