Part 3: Implementing the UI for the HomeScreen
I.UI Analysis

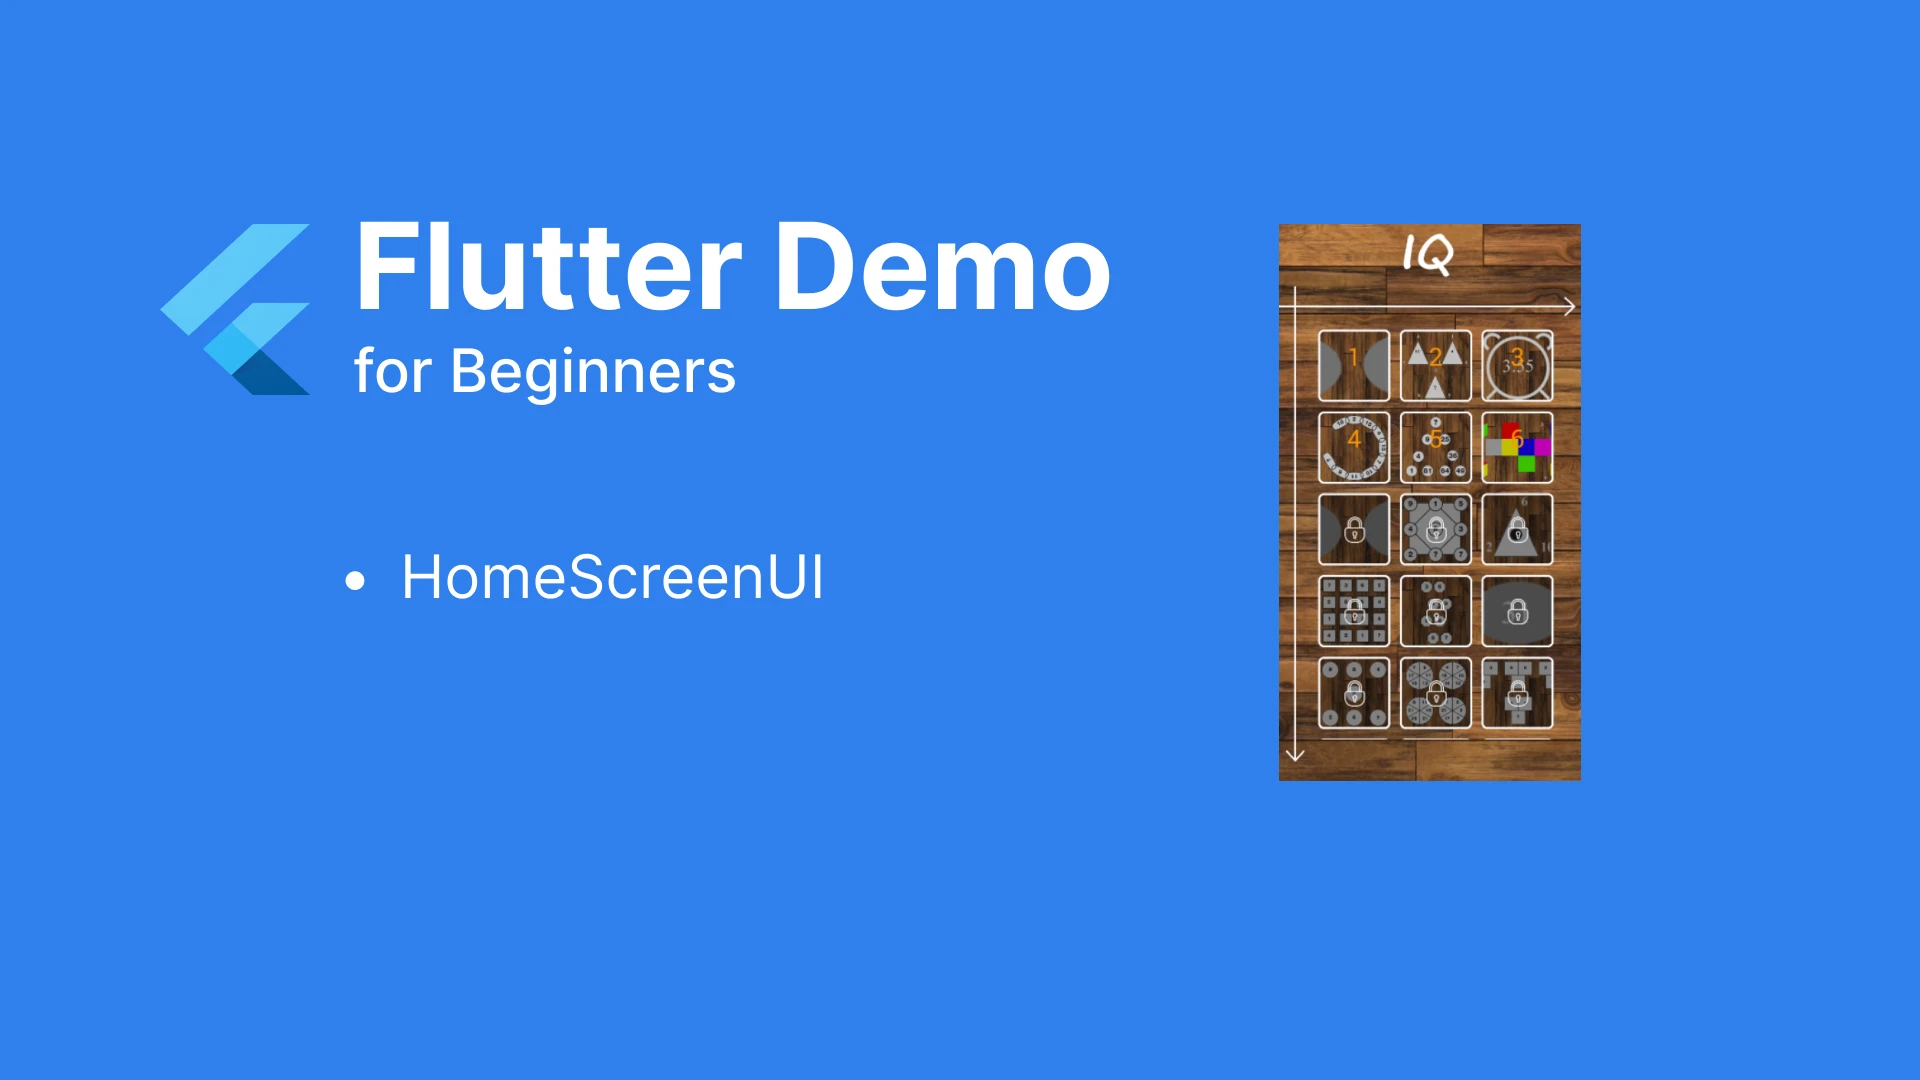
Looking at the screen UI, we can categorize it into the following general Widgets:
- Background image at the bottom
- HeaderWidget containing the IQ Icon
- Widget arrow indicating the horizontal axis
- Widget arrow indicating the vertical axis
- Widget displaying a list of questions. Each question is a small Widget
The UI components overlap, to construct this, we will use the Stack Widget.
II.Breaking Down the Small Widgets
1. Building the Background, Header Widget, and Axis Widgets
As shown in the image, the build function returns a Container containing the background image at the bottom. Inside the Stack, it sequentially contains the following Widgets: HeaderHomeWidget, HomeHorizontalAxisWidget, and HomeVerticalAxisWidget.


After running, you will have the UI:

2.List of Questions
Next is the Widget that displays the list of questions, which includes the QuestionMainWidget representing one question.
The list of questions will have left padding of 50, right padding of 40, top padding of 90, and bottom padding of 110. We will use SliverGrid to display the list in three columns.:

In which
- childCount: Currently, it's temporarily set to fake 11 questions corresponding to 11 child Widgets of QuestionMainWidget. mainAxisSpacing, crossAxisSpacing: The spacing between QuestionMainWidget in the vertical and horizontal directions.
- childAspectRatio: The aspect ratio of the width to height for each child Widget.
Each child component will have two states:


They will contain:
- Background image
- Thumbnail image displaying the question
- Question number with the case of a correct answer
- Lock icon for unanswered questions

We will complete the QuestionMainWidget after fully implementing the logic to retrieve data from the backend, along with checking the condition of passed questions. Currently, it's just temporarily displaying the background and text.

III.Summary
In this tutorial, we have learned how to analyze the UI and build a basic UI. The current UI does not have real data; in the next tutorial, we will continue to build the connection and retrieve real data from the backend.